
Intermediate | 35m 30s | 385 MB | Project Files: Included | Software used: Revit
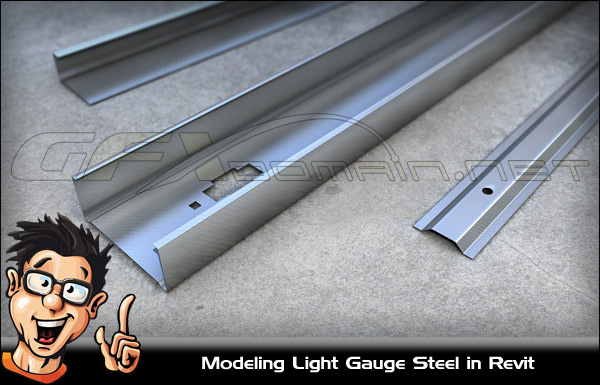
In this set of tutorials we’ll learn how to model a light gauge steel addition for a small renovation project. We’ll start with a custom made moment frame structural member that we’ll place at our grid lines. From there, we’ll begin adding purlins, girts and even some lateral bracing. I’ll show you few tips and tricks that help you get the job done with ease and also save you some time in the process. So with that, I’m ready to get started and I’ll see you in the next lesson!
Home Page: _http://www.digitaltutors.com/tutorial/1439-Modeling-Light-Gauge-Steel-in-Revit
Download Links:-

http://dizzcloud.com/dl/162aatl/Digital-Tutors_-_Modeling_Light_Gauge_Steel_in_Revit.part1.rar
http://dizzcloud.com/dl/162aati/Digital-Tutors_-_Modeling_Light_Gauge_Steel_in_Revit.part2.rar
Mirror :-

Digital-Tutors_-_Modeling_Light_Gauge_Steel_in_Revit.part1.rar
Digital-Tutors_-_Modeling_Light_Gauge_Steel_in_Revit.part2.rar
Mirror :-

Download Digital-Tutors – Modeling Light Gauge Steel in Revit.part1.rar from FileFactory.com
Download Digital-Tutors – Modeling Light Gauge Steel in Revit.part2.rar from FileFactory.com
Mirror :-

Digital-Tutors – Modeling Light Gauge Steel in Revit.part1.rar
Digital-Tutors – Modeling Light Gauge Steel in Revit.part2.rar
